Israel Visa Requirements For Nigerians – Israel, known as the Holy Land, is a top destination for millions of tourists, including Nigerians, who visit for religious, business, or leisure purposes. As a Nigerian passport holder, you need to obtain a visa to enter Israel. In this blog post, we will discuss the Israel visa requirements for Nigerians and the necessary steps to secure one.
Types of Israeli Visas
Before applying for a visa, it is crucial to identify the type of visa you require based on the purpose of your visit. Here are the most common visa types for Nigerians visiting Israel:
- Tourist Visa (B2 Visa): This visa is for Nigerians visiting Israel for tourism, visiting friends or family, or attending conferences or seminars. The tourist visa is usually valid for up to three months.
- Business Visa (B1 Visa): This visa is for individuals visiting Israel for business purposes, such as attending meetings, conferences, or conducting business transactions. The business visa’s validity period may vary depending on the applicant’s needs.
- Work Visa (B1 Visa): This visa category is for Nigerians who have secured employment in Israel. The employer must apply for a work permit on behalf of the employee, and the employee must then apply for a work visa at the Israeli embassy or consulate in Nigeria.
- Student Visa (A2 Visa): This visa is for Nigerians who have been accepted into an accredited Israeli educational institution. The student visa is valid for the duration of the academic program.
YOU WILL ALSO LIKE: Madagascar Visa Requirements For Nigerians | How To Apply
Israel Visa Requirements For Nigerians
To apply for an Israeli visa, you must fulfill the following requirements:
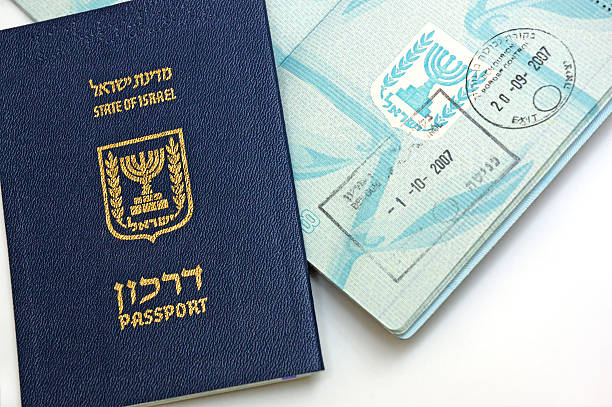
- A valid Nigerian passport: Your passport must be valid for at least six months from the date of your planned entry into Israel. Ensure that you have at least two blank pages for visa stamps.
- Completed visa application form: Download and complete the Israeli visa application form. Make sure to provide accurate and up-to-date information. Any errors or discrepancies may result in visa denial.
- Passport-sized photographs: Provide two recent, high-quality passport-sized photographs taken against a white background. The photographs must be 5×5 cm and display your full face without any headwear or eyeglasses (unless worn for religious or medical reasons).
- Proof of financial means: Provide bank statements from the past three months, demonstrating that you have sufficient funds to cover your stay in Israel. Alternatively, you may submit a sponsorship letter from an individual or organization in Israel and their bank statements.
- Travel itinerary: Submit a detailed travel plan, including your flight reservations, hotel bookings, and planned activities or events in Israel.
- Invitation letter (if applicable): If you have been invited by an individual, organization, or business in Israel, provide a formal invitation letter stating the purpose and duration of your visit.
- Letter of employment or enrollment (for work or student visas): For work visa applicants, submit a copy of your work permit and a letter from your employer confirming your employment. For student visa applicants, provide an acceptance letter from an accredited Israeli educational institution.
- Visa fee: Pay the non-refundable visa processing fee. The fee varies depending on the type of visa and is subject to change. Check the Israeli embassy or consulate website or contact them directly to confirm the current fee for your specific visa type. Payment methods may include cash, bank draft, or a postal order payable to the Israeli embassy or consulate.
- Medical and travel insurance: Provide proof of medical and travel insurance coverage for the entire duration of your stay in Israel. The insurance policy should cover any medical emergencies, evacuation, repatriation, and trip cancellations or interruptions.
YOU WILL ALSO LIKE: Trinidad and Tobago Visa Requirements | How To Apply
Visa Application Process
Once you have gathered all the required documents, follow these steps to apply for your Israeli visa:
-
-
- Schedule an appointment: Contact the Israeli embassy or consulate in Nigeria to schedule an appointment for your visa application submission. Appointments can typically be made by phone or online, depending on the embassy or consulate’s preferred method.
- Submit your application: Arrive at the embassy or consulate on your scheduled appointment date with all the required documents and visa fee. Submit your application in person. The consular officer may ask you questions about your travel plans and the purpose of your visit.
- Attend an interview (if required): Depending on the visa type and individual circumstances, you may be asked to attend an in-person interview at the embassy or consulate. During the interview, a consular officer will assess your eligibility for the visa and may ask for additional documentation or clarification.
- Wait for your visa decision: Visa processing times may vary depending on the type of visa, the applicant’s circumstances, and the workload at the embassy or consulate. Generally, visa decisions can take between two to four weeks. However, applying well before your planned travel date is always advisable to account for any unforeseen delays.
- Collect your visa: Once your visa application has been approved, the embassy or consulate will notify you. Depending on the embassy or consulate’s procedures, you can then collect your passport with the visa stamp in person or via a courier service.
-
YOU WILL ALSO LIKE: Healthcare Jobs with sponsors in Canada
Conclusion
Navigating the Israeli visa application process can be daunting, but it becomes more manageable with the right information and preparation.
Ensure you have all the necessary documents in place, and follow the application steps outlined in this guide. Start planning your trip early to avoid any last-minute hiccups, and enjoy your visit to the beautiful and historic land of Israel.